Attaching a chain link fence to wood posts is a practical and visually appealing solution that can be cheaper than installing a traditional wooden fence. This combination offers the strength and durability of chain link fabric with the rustic charm of wooden posts. As a trusted fencing contractor in Colorado, we’ve decided to walk you through the step-by-step process of installing a chain link fence with wooden posts.
How to Attach Chain Link Fence to Wooden Posts

The Short Answer: How to Install Chain Link Fence With Wooden Posts
Attaching a chain link fence to wood posts involves securing the chain link fabric to the wood posts using fence ties or hog rings, ensuring the fabric is taut with the help of a fence stretcher or come-along, and making sure that the posts are properly aligned and stable. This method combines durability with aesthetic appeal, making it a popular choice for residential fencing.
Preparing for Installation
Materials:
Chain link fabric: The primary material for the fence, known for its durability and low maintenance.
Wood posts: Ensure they are treated to withstand weather conditions.
Fence ties or hog rings: These are used to secure the chain link fabric to the posts.
Tension bands and bars: Essential for holding the fabric in place and ensuring it remains taut.
Concrete or gravel: For setting the posts securely in the ground.
Post caps: To protect the tops of the wood posts from weather damage.
Tools:
Fence stretcher or come-along: This helps tighten the chain link fabric to avoid sagging.
Post-hole digger: This is for digging holes to set the wood posts.
Level: Ensures posts are set plumb (vertically straight).
Shovel: For digging and handling concrete or gravel.
Mallet: Useful for driving in post caps and ensuring they are secure.
Wire cutters: To trim the chain link fabric to the required length.
Work gloves and safety goggles: To protect your hands and eyes during installation.
Planning and Layout
Create a Fence Plan: Use graph paper to draw a plan for your fence. Mark the location of each post, ensuring that the spacing is consistent, typically between 6 to 10 feet apart, depending on the design and terrain.
Check Local Codes and Guidelines: Consult local building codes and homeowner’s association guidelines to understand acceptable fence styles, sizes, and placement. These codes might also specify post-hole requirements and whether a permit is necessary.
Mark Property Lines: Accurately mark your property lines to avoid disputes with neighbors. Use stakes and string to outline the fence layout. This will help you visualize the final placement and ensure everything is aligned correctly.
Prepare the Site: Clear the area of obstructions such as rocks, plants, or debris. This will make digging post holes easier and ensure a clean installation.
Consult with Neighbors: It’s a good practice to discuss your fencing plans with your neighbors, especially if the fence will be along a shared boundary. This can prevent future conflicts and may even lead to shared costs.
Safety Checks: Before digging, call 811 to check for underground utilities. This is crucial to prevent damaging underground lines and ensure your safety during installation.
Installing the Wood Posts
Digging Post Holes
Marking the Locations: Using the stakes and string from your layout plan, mark the locations for your post holes. Ensure the spacing is consistent, typically between 6 to 10 feet apart. This spacing depends on your site's design and terrain.
Digging the Holes:
Use a post hole digger or auger to dig holes at least 2 feet deep and approximately three times the width of the posts to ensure stability. In regions like Colorado, ensure the holes are deep enough to be below the frost line to prevent heaving during freeze-thaw cycles.
For end, corner, and gate posts, which bear more tension, the holes should be slightly wider and deeper than those in line posts.
Adding Gravel and Concrete:
Place about 4 inches of gravel at the bottom of each hole to aid drainage and prevent water from pooling around the base of the posts.
Add about 6 inches of concrete on top of the gravel for the end, corner, and gate posts before setting the posts. This provides additional stability for these critical points.
Setting the Wood Posts
Positioning the Posts:
Insert the wood posts into the holes, ensuring they are centered and standing straight. Use a level to check that each post is plumb (vertically straight). Having a partner hold the posts steady or using temporary braces can help maintain alignment while you work.
Adjust the position as necessary before filling the holes.
Securing the Posts with Concrete:
Mix concrete to a thick consistency, similar to cake batter. Pour the concrete around the posts, filling the holes to ground level. Continuously check the posts for plumpness as you add the concrete.
Use a shovel to tamp down the concrete and remove air pockets. Slope the top of the concrete away from the posts to direct water runoff and prevent water damage.
Allow the concrete to cure for at least 2-3 days before proceeding to the next steps. This ensures the posts are firmly set and stable.
Post Caps Installation:
After the concrete has cured, install post caps on each wood post. This provides a finished look and protects the posts from weather damage, prolonging their lifespan.
Attaching the Chain Link Fabric
Unrolling the Chain Link Fabric:
Lay the chain link fabric on the ground along the fence line. Ensure the fabric is longer than the distance between the posts for stretching and adjustments.
Cut the fabric to the required length using wire cutters, leaving some excess to work with during tensioning and securing.
Attaching the Fabric to the Posts:
Start at one end post and use fence ties or hog rings to attach the fabric to the post. Secure the fabric regularly along the top rail, bottom rail, and line posts. This initial attachment helps to keep the fabric in place as you stretch it along the fence line.
Use a come-along or fence stretcher to pull the fabric taut. This tool helps to eliminate any slack and ensure the fabric is tight and free from sagging.
Using Tension Bands and Bars:
Install tension bands around the end and corner posts. Slide a tension bar through the end of the chain link fabric and attach it to the tension bands. This provides a secure and stable connection, preventing the fabric from shifting or loosening over time.
Continue stretching the fabric and attaching it to the posts using fence ties or hog rings. Maintain consistent tension throughout the process to ensure a neat and durable installation.
Securing the Top and Bottom Rails:
Insert the top rail through the rail end cups attached to the posts. Secure the rail to the posts with tension bands and bolts, ensuring it is level and firmly in place.
Attach the bottom rail similarly, ensuring the chain link fabric is evenly stretched between the rails and posts.
Final Notes on Attaching a Chain Link Fence to Wooden Posts
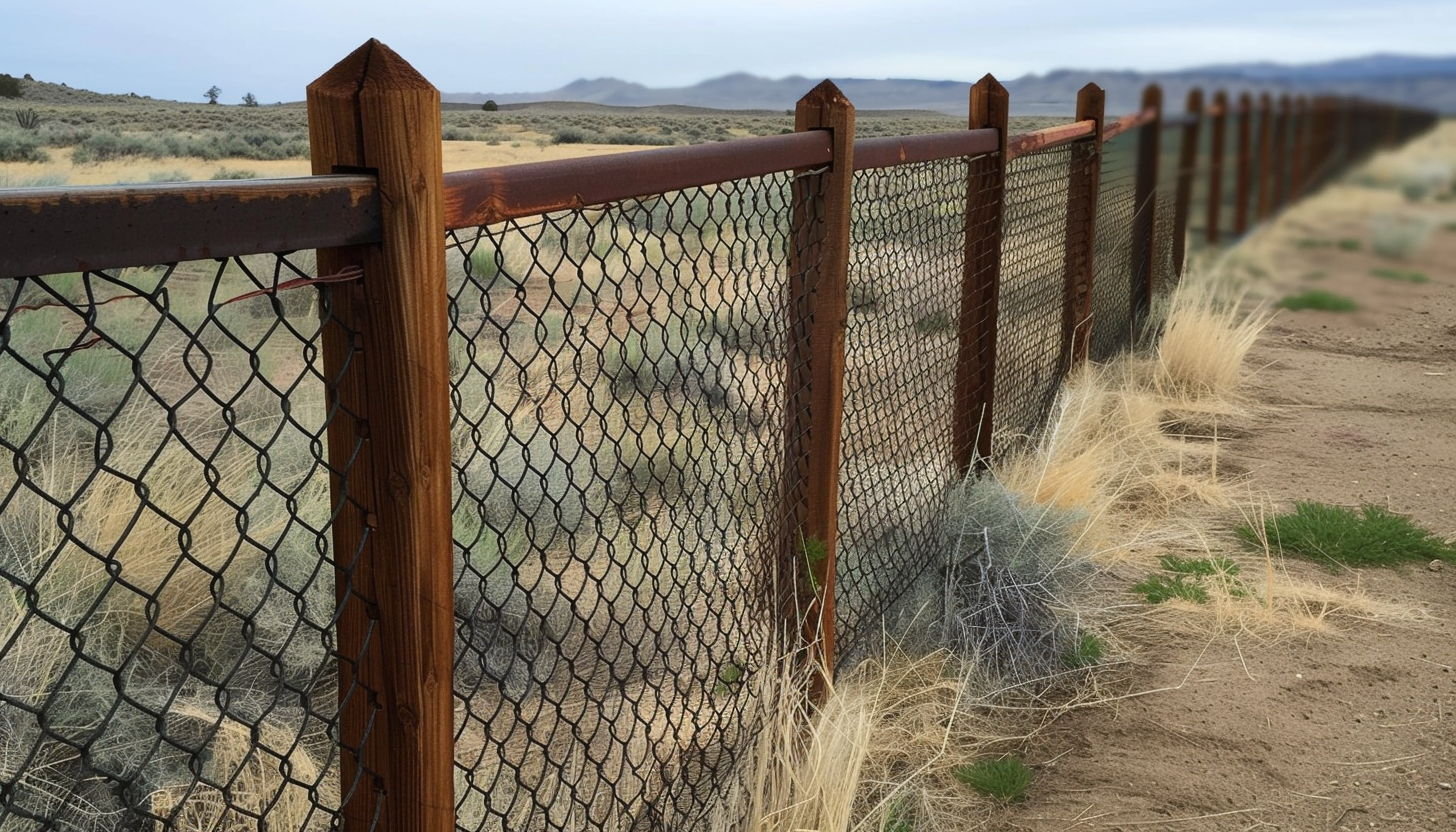
Chain link fabric is known for its strength and longevity, making it an excellent choice for withstanding harsh weather conditions and physical impacts. Adding wood posts enhances the aesthetic appeal, blending seamlessly with various landscaping styles and adding a rustic charm to your property. This combination offers a cost-effective solution, balancing affordability with high functionality.
Regular maintenance, including periodic inspections and minor repairs, ensures the fence remains in optimal condition for years to come. For those of you in Colorado, Country Construction offers professional installation services to help you achieve a high-quality, custom fence that meets your security needs and aesthetic preferences.